I picked up this cheap screen on Ebay with case and heatsink for $20. I spent hours trying to get this to work. I probably failed at least 30 times before I got this to go. I put this document together to help other people out and help me remember in case I have to go back and reinstall Octoprint. I picked up bits from the internet until I got something to work. The drivers from goodtft and waveshare will crash raspbian buster. The drivers are built into the kernel so you don’t to install the manufacturer drivers.
Step 1.
First of all enable SPI by using the terminal command:
raspi-config
Navigate to ‘Advanced options’ and then enable SPI
Reboot if needed through the command in the terminal:
sudo reboot
The touch screen should turn on and be white colored.
Step 2.
If your still running the Buster beta upgrade to the latest stable kernel
sudo apt-get update –allow-releaseinfo-change
Give the following command to update and upgrade Raspian:
sudo apt-get update
sudo apt-get upgrade
sudo reboot
Step 3.
Now to modify the configuration file to configure the display
sudo nano /boot/config.txt
then add this line to the bottom
dtoverlay=piscreen,speed=16000000,rotate=90
give Ctrl+X, Y, and Enter. (This saves the file)
Give the command:
sudo reboot
Unplug your HDMI cable if you have to plugged in
You now see Linux booting up on the 3.5 inch touch screen.
Step 4.
Log into you Octoprint and install the touch UI plugin. Run the following command to install X and touch screen auto login/boot into touch mode
git clone https://github.com/BillyBlaze/OctoPrint-TouchUI-autostart.git ~/TouchUI-autostart/
sudo ~/TouchUI-autostart/helpers/install
When done
sudo reboot
You should now see Octoprint fire up and go into touch screen mode
Step 5.
At this point your Octoprint should be loaded but your mouse and touch screen will probably be moving backwards. In the newer (Jessi, Buster) versions of Raspbian they change input control from
evdev to libinput. You need to install evdev or it will ignore you
99-calibration.conf configurations.
sudo apt-get install xserver-xorg-input-evdev
sudo reboot
You can now modify your 99-calibration.conf file
sudo nano /usr/share/X11/xorg.conf.d/99-calibration.conf
Copy and past below
Section “InputClass”
Identifier “calibration”
MatchProduct “ADS7846 Touchscreen”
# Don’t use libinput but evdev for the touch screen and the pen
Driver “evdev”
Option “Calibration” “3936 227 268 3880”
Option “InvertY” “true”
Option “InvertX” “false”
EndSection
Save and reboot
sudo reboot
Your Raspberry Pi 4 should come up now. Touchscreen should be working in the right direction.
I had a customer running an older Dell 2950 server with windows 2008 and SQL 20012 that got this update. After the update the server would not fully boot and you would get a blank or black screen of death. At first I didn’t know what was happening. I though the boot process got corrupt. I was running chksdk and SFC repair checks. I ran just about every Microsoft boot repair utilities available with no fix. This customer did not have a server image or backup of this server. At the same the OS drive RAID 1 mirror primary drive failed so I was thinking file corruption. I had to manually restore the registry in C:\windows\system32\config just get into safe mode. From there I started looking logs and updates. I noticed KB449347 was installed the night before. I uninstalled KB449347 and the server reboots and goes into windows normally now. I’ve read other people are having this issue with certain antivirus. My customer was running Avast. Hopefull this helps somebody. I have about 8 hours into this trying to figure it out.
Below is a configuration I used to make postfix relay with office365
myhostname = pbx.domain.com
mydomain = domain.com
relayhost = [smtp.office365.com]:587
smtp_sasl_auth_enable = yes
smtp_sasl_password_maps = hash:/etc/postfix/sasl_passwd
smtp_sasl_security_options = noanonymous
broken_sasl_auth_clients = yes
smtpd_tls_auth_only = yes
smtp_use_tls = yes
smtp_tls_note_starttls_offer = yes
smtpd_tls_loglevel = 0
smtpd_tls_received_header = no
tls_random_source =
smtp_tls_CAfile =
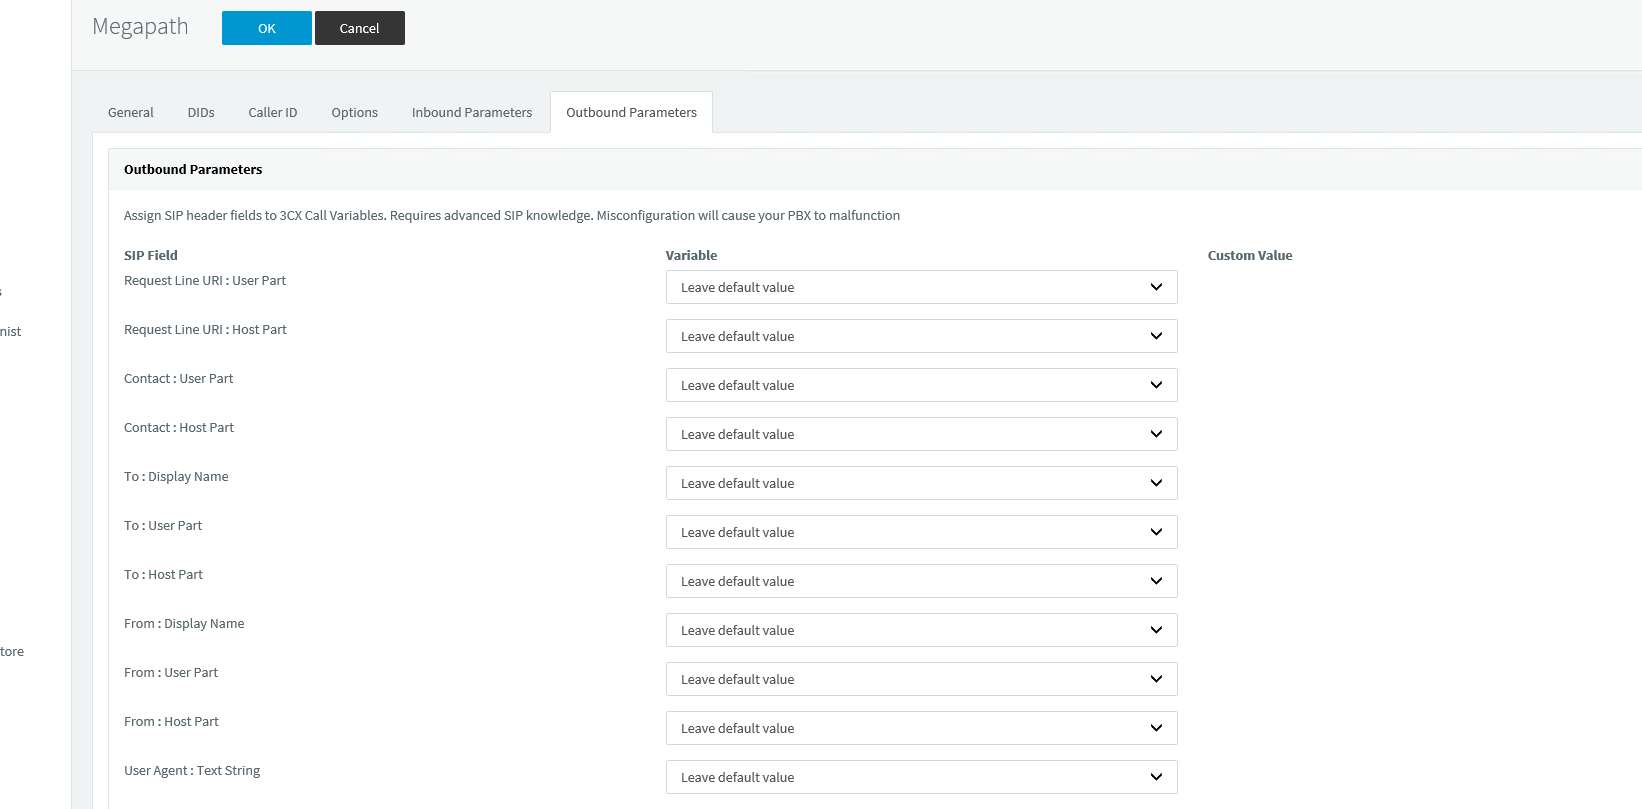
If you are having trouble making outbound calls with megapath and getting a SIP 604 error. Go to outbound parameters and set all the parameters to the leave default value.